Growing the perfect pumpkin for Halloween can be a fun and rewarding process. With the right care and attention, you can cultivate a pumpkin that will be the envy of the neighborhood. Here’s a step-by-step guide to help you grow a Halloween pumpkin that is perfect for carving or decorating.
First off, keep in mind that it take roughly 100 to 120 days for a pumpkin to be fully mature. You can of course harvest the earlier and this time might be shorter in warmer climates but you should look at planting your pumpkin sometime between late May and mid-July in order for the pumpkins to be at their best at Halloween.
Step 1: Choose the Right Pumpkin Seeds
There are many different varieties of pumpkin seeds available. To grow a Halloween pumpkin, you’ll want to choose seeds for a variety that produces larger pumpkins, like the ‘Jack O’ Lantern’ or ‘Howden’ varieties. These types are ideal for carving and have a classic pumpkin shape.
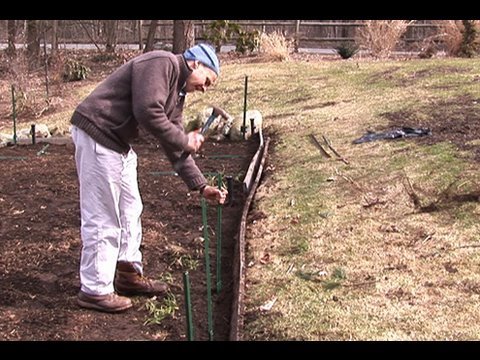
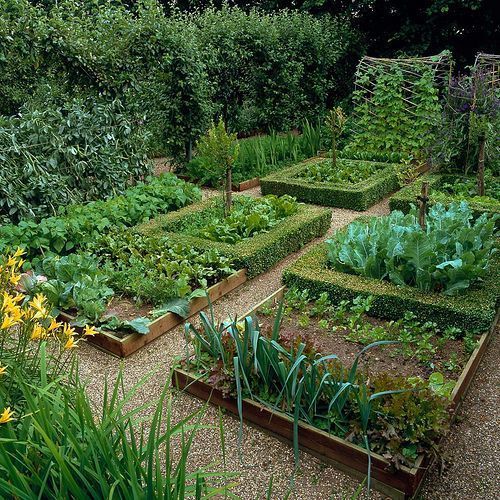
Step 2: Prepare Your Garden
Pumpkins thrive in well-drained soil with a pH level of 6.0-7.0. Choose a sunny spot in your garden and clear the area of weeds. Till the soil to a depth of about 12 inches and mix in some compost or aged manure to improve the soil structure and add nutrients. Create mounds of soil about 18-24 inches apart and plant 2-3 seeds per mound, about 1 inch deep.

Step 3: Care for Your Pumpkin Plants
Water your pumpkin plants regularly, keeping the soil consistently moist but not waterlogged. Avoid getting the leaves wet, as this can lead to fungal diseases. Pumpkins are heavy feeders, so apply a balanced fertilizer every 2-3 weeks to support their growth.
As the pumpkin vines grow, train them along the ground to prevent them from tangling. Remove any unhealthy or yellowing leaves to improve air circulation and prevent diseases.
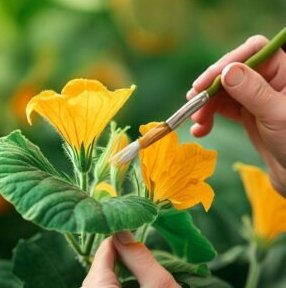
Step 4: Pollinate the Flowers
Pumpkin plants produce both male and female flowers. The male flowers usually appear first and are recognizable by their slender, straight stems. Female flowers have a small pumpkin-like bulge at the base. To ensure successful pollination, you can hand-pollinate by transferring pollen from a male flower to a female flower using a small paintbrush or cotton swab.
Step 5: Prune and Thin Your Pumpkin Plants
Once the pumpkins start to develop, prune the vines to focus the plant’s energy on the remaining fruits. Remove any smaller or less-developed pumpkins, leaving one or two large pumpkins per plant. This will help you grow bigger and healthier Halloween pumpkins.
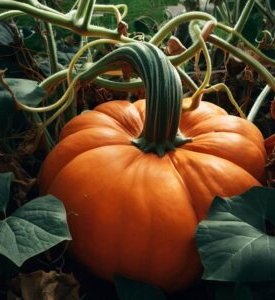
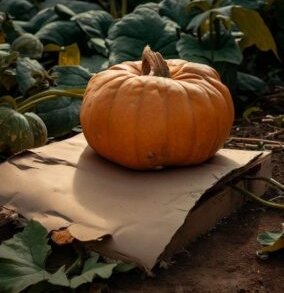
Step 6: Protect Your Pumpkins
Place a piece of cardboard, straw, or wood under your pumpkins to protect them from rot and pests. Keep an eye out for common pumpkin pests like squash bugs and cucumber beetles, and treat them accordingly. As Halloween approaches, rotate your pumpkins every few days to encourage even coloring and prevent flat sides.
Step 7: Harvest Your Pumpkins
Your pumpkins are ready to harvest when their skin turns a deep, solid color and the stem becomes woody. Use pruning shears to cut the stem, leaving a few inches attached to the pumpkin. Allow the pumpkins to cure in the sun for a few days to harden the skin, and then store them in a cool, dry place until you’re ready to carve or decorate them for Halloween.
By following these steps and providing your pumpkin plants with the care they need, you can grow the perfect Halloween pumpkin that will be the star of your spooky celebrations.

